Thursday, September 21, 2023

Cheesecake for the Birthday Girl


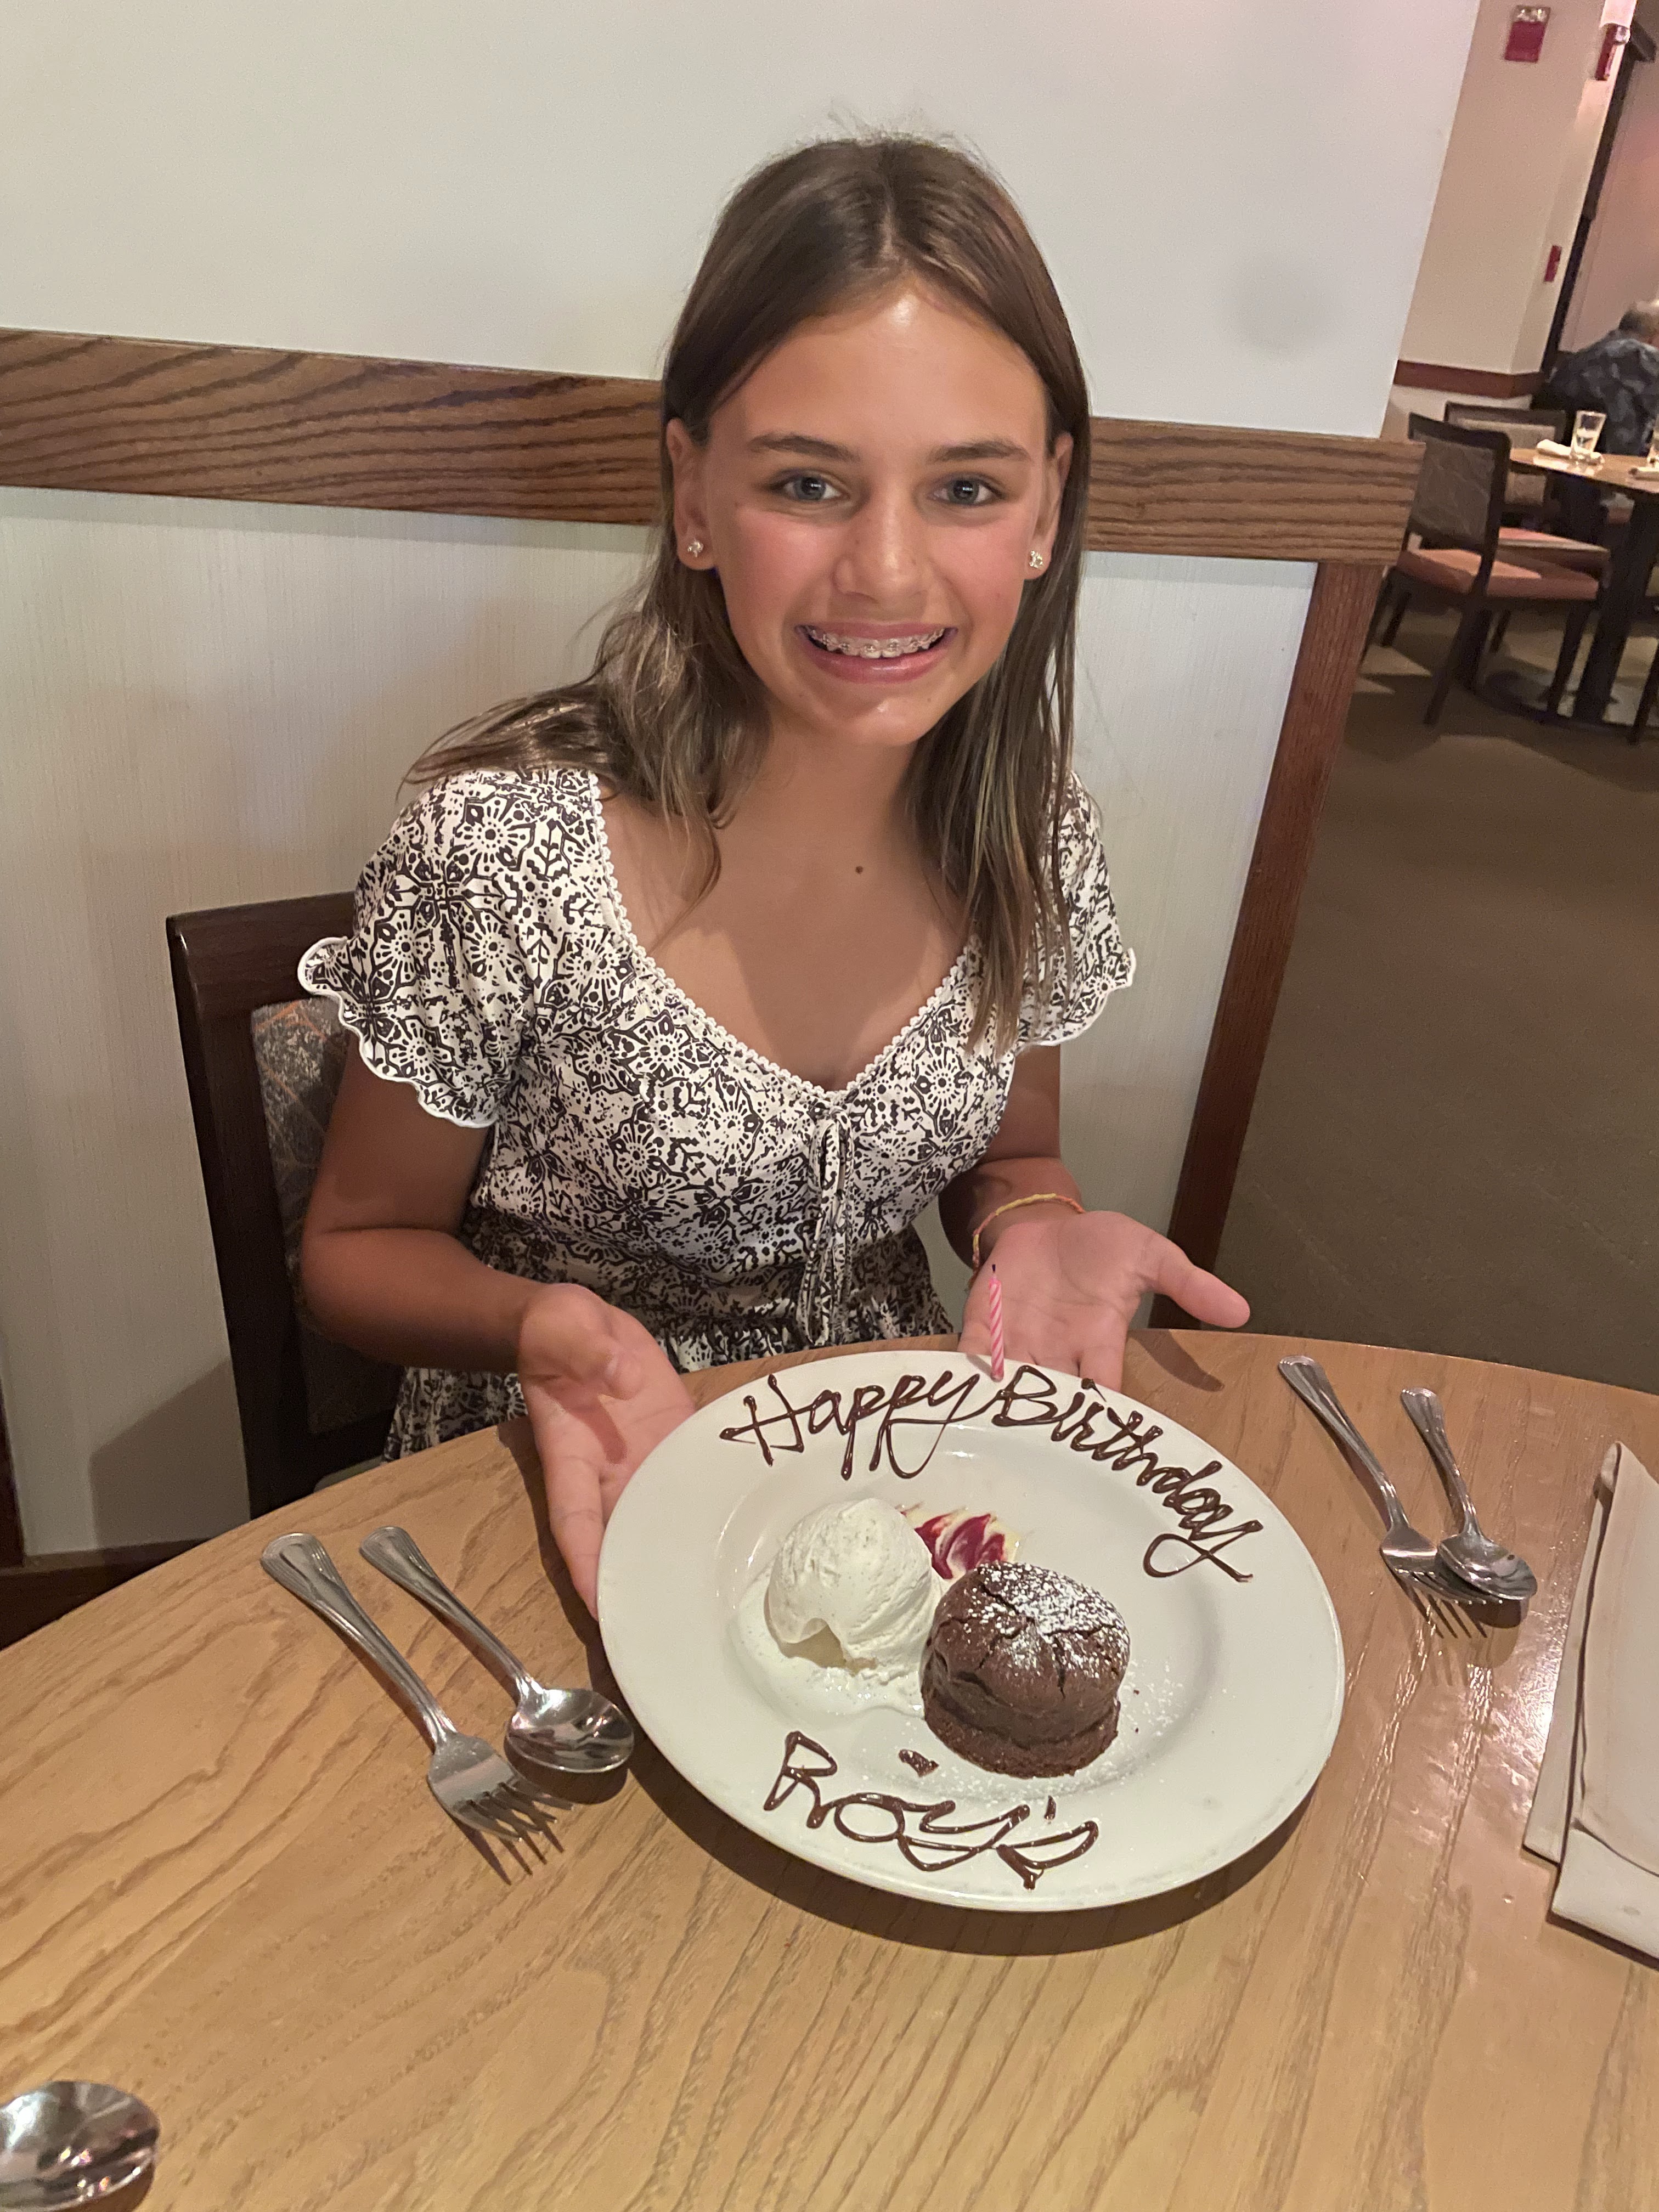
Well, my oldest daughter turned 16 this month!  The years have flown by . . . one of the best parts of this blog is that it's helped me document family life and my kids growth in one place.  I'm not consistent about journaling, scrapbooking or anything else like that and I'm grateful to have a space where I can look back and reflect.

For her Sweet Sixteen, she wanted a day at the beach with her friend group and it turned out to be a blast.  From a picnic and pictures in sundresses to huge waves and a beach slip and slide, it was a memorable day that turned out (almost) like she had been planning.




The day before her birthday, we had a small celebration at home with friends & family and for her birthday dessert, she chose cheesecake.  I hadn't made one in awhile, but this recipe is tried and true and turned out great.  We had fresh figs on our tree so I made a fig sauce to go with it (and sliced strawberries for the people who aren't fig fans).

Recipe notes:  It takes a LONG time so plan ahead.  The link below to the original recipe has a lot of troubleshooting information (cracks, water bath, underdone cheesecake).  I leave off the sour cream topping but if you want to make that, again look at the original recipe.

Happy birthday sweet girl!  Your mama loves you :)

Perfect Cheesecake
recipe from Simply Recipes

Ingredients:

Crust - 1 3/4 cups graham cracker crumbs (about 15 graham crackers)
            2 T sugar
            pinch salt
            5 T unsalted butter, melted

Filling - 2 lbs cream cheese, at room temperature
              1 1/3 cups sugar
              pinch salt
              2 tsp vanilla extract
              4 large eggs, at room temperature
              2/3 cup sour cream, at room temperature
              2/3 heavy cream

To prepare the crust, preheat the oven to 350 degrees.  Pulse the graham crackers in a food processor until finely ground.  Put in a large bowl, stir in the sugar and salt, and stir in the melted butter.

In a 9 inch springform pan, press down the crumbs into an even layer.  I used a measuring cup to help press the crumbs down and give a little bit of an edge going up the pan.

Bake for 10 minutes, remove from oven, and let the crust cool.  While the crust cools, you can lower the oven temperature to 325 degrees and put your oven rack on the bottom of the oven.  Then, start making your filling.

Beat the cream cheese in a stand mixer with the paddle attachment on medium speed for 4 minutes or until soft, smooth, and creamy.  Add the sugar and beat for 4 minutes more.  Add the salt and vanilla, mixing until just incorporated.  Reduce the speed to low and add the eggs, one at a time.  Scrap down the bowl paying attention to any thicker bits of cream cheese that may have stuck to the bottom of the mixer.  Add the sour cream on medium speed and mix until incorporated.  Change the mixer to low speecd and add the heavy cream.

Once the pan is cool, wrap it in a triple layer of foil.  Boil some water in a kettle to prepare your water bath.

Scrape the filling into the crust, place the springform pan (wrapped in foil) in a large roasting pan, and carefully add water to the pan so that it goes about halfway up the side of the springform pan.  Place the roasting pan in the oven.  

Bake at 1 1/2 hours at 325 degrees.  Then, turn off the oven and crack the oven door and let it sit there for another hour.  After that, cover the top of the cheesecake with foil (don't let the foil rest on the cheesecake - make a tent), and chill in the refrigerator for a minimum of 4 hours (overnight is fine).

Serve with toppings of your choice - we like whipped cream and some sort of fruit.

Thursday, September 7, 2023

Another Island Inspired Fish Dish


 One night on the Big Island, we enjoyed an amazing meal at Meridia with some excellent company (and delicious freshly baked bread).  When we got home, I asked my husband what he wanted for dinner one night and he said "a mediterranean fish dish" and I came up with this meal inspired by what Middle and I shared at Meridia.  Hope you enjoy!


Some recipe notes:  If you have the time, marinate the fish for about 30 minutes - 1 hour before you make the rest of the meal.  This sheet pan method will work with other combinations of protein (chicken thighs are great) and vegetables.  I have had bad luck when I use too much of the marinade/vinaigrette because the veggies are also going to release some liquid and when it all sits in too much liquid, it's mushy.  Leave out anything your people don't enjoy, add other vegetables, whatever - it's very versatile.  The feta gets melty of you sprinkle it on during the last 5 minutes of cooking but I have picky people so we put it on the side.

Mediterranean Halibut (serves 4)

4 halibut filets (mine did not have skin)

Marinade/vinaigrette ingredients:
1/2 cup olive oil
juice of 1 lemon
4 garlic cloves, minced
2 tsp oregano
1 tsp thyme
1 tsp Dijon mustard
1 tsp salt
1/2 tsp freshly ground pepper

Vegetables:
1/2 red onion, thinly sliced
yellow bell pepper, sliced
1 small zucchini, cut into smallish pieces (see photo)
asparagus
1 cup kalamata olives, drained
1 can garbanzo beans, drained

For serving:  
feta cheese
arugula

Start by heating your oven to 425 and whisking your marinade ingredients together.  Divide the marinade in half and put half in a pan and add the halibut.  Put the other half in a large bowl and add your chopped vegetables, beans, and olives.  Stir to combine.  

Remove the vegetables from that bowl with a slotted spoon and spread them in a single layer on a rimmed baking sheet.  On another baking sheet prepared with olive oil spray or foil, place the halibut.  Put it all in the oven for 10-12 minutes.  If you have thicker vegetables, they may need to stay in a little longer but your halibut should be just cooked through in that amount of time.  Adjust cooking times according to your preference of how "done" you like things.

We like to eat the fish and veggies over a bed of arugula and with a sprinkle of feta cheese on top.

Tuesday, September 5, 2023

Blackened Red Snapper


During the time we spent in Hawaii this summer, I realized how much my girls love eating fresh fish.  I make salmon on regular rotation at home, but don't venture into many other kinds of fish but in Hawaii, they order fish on the menu all the time.  I know we don't always have access to fresh out of the ocean (hours ago) fish here in CA, but we have friends who fish and we have Sprouts and I am determined to make more kinds of fish dishes for my family.  A friend of my husband's fishes off the coast of Baja CA and Mexico and gave us some amazing looking fish filets and this is what we did with the red snapper.  I think it could be easily adapted to other kinds of fish  and it's nothing super creative or outlandish (I had every ingredient in my pantry minus the fresh fish) so I hope you experiment and enjoy!

We enjoyed it with a rice pilaf, steamed green beans, and white wine.  Perfect summer treat!

Blackened Red Snapper (serves 4)

Ingredients:
 
1 tsp paprika
1/4 tsp cayenne (more or less depending on how spicy you like it)
1 tsp salt
1/2 tsp garlic salt
1/4 tsp onion powder
1 tsp dried thyme
1 tsp dried oregano
1/2 tsp freshly ground black pepper
2 red snapper filets, halved
juice of 1 lemon
1/2 cup butter
1/4 - 1/2 cup minced parsley 

Combine the spices in a bowl to make a rub and spread evenly over the red snapper.  Put the lemon juice in a sauce pan and heat until simmering.  Remove from heat and add butter and stir until melted (can add the pan back to the heat if the butter doesn't melt).  Add a little salt to the butter & lemon mixture, especially if using unsalted butter.

Heat the grill to 500+ degrees and oil the grates.  Add the snapper and leave about 4-5 minutes to blacken with the spices.  Flip and cook the other side 4-5 minutes.  Adjust cooking times accordingly based on the thickness of your fish filets.  

Plate the fish, drizzle with the lemon butter mixture and sprinkle with parsley.

Sunday, September 3, 2023

My middlest is a Teenager!


We had so much fun celebrating Middle's 13th birthday and stretched out the fun over about a month.  We did a Hawaii birthday party with our girls' best friends there (Hawaiian themed escape room & sushi lunch) and a home birthday party with school friends (Dinosaur themed escape room & frozen yogurt & a sleepover).  I'm so proud of the beautiful young woman she has become, especially her caring spirit, sensitive heart for others, and love for the Lord.

Middle would almost always rather eat at home (and help cook!) than eat out so on her birthday, she requested corn chowder at home and she asked me to "make one of those crazy desserts like you make for dad."  

Coconut & Lilikoi Ice Cream Pie

I put a layer of coconut shortbread cookies at the bottom of a pie pan and then spread lillikoi jelly on top.  Next I put a layer of coconut gelato and then more lillikoi jelly.  I topped it with cool whip and stuck it in the freezer - delicious!


North Country Corn Chowder (serves 4-6)

3 T vegetable oil
3 medium potatoes, peeled and diced
1 medium onion, chopped
3 stalks celery, chopped
1 small red bell pepper, seeded and diced
2 bay leaves
1 T Old Bay Seasoning
salt & pepper to taste
3 T flour
10 oz corn kernels (I buy the frozen ones, thaw & drain them)
15 oz. chicken broth
1 quart whole milk

Ideas to garnish:  green onions, chives, cilantro, parsley, hot sauce, oyster crackers

Heat a deep pot over medium heat.  Add oil and potatoes.  Cover and cook for 5 minutes, stirring frequently.  Add onion, celery, red bell pepper, and bay leaves.  Season with Old Bay, salt & pepper.  Cover and reduce heat a bit.  Cook a few more minutes, stirring occasionally.

Uncover and whisk in flour.  Cook a minute more.  Add corn, broth, and milk.  Bring soup to a boil, reduce heat, and simmer about 10 minutes to thicken.  Adjust seasonings as needed.


Tuesday, August 15, 2023

Moroccan Beef & Sweet Potato Stew


I was given this clay pot early in our marriage as a gift from a friend.  It has sat on a shelf in my kitchen as a decoration and a few months ago, my husband said I should make something in it.  I had to do some research about how to use it and it involved prepping the clay pot (rubbing with oil, soaking in water, drying in a barely warm oven for a day).  Then, I looked through a bunch of recipes to find something that sounded good to us.  The blend of moroccan spices was really good and it smelled great throughout the day as it cooked.  This isn't a last minute recipe and takes awhile, but it was a big hit with my husband and I thought it was delicious.  The kids were so so on it but we made it 2-3 times last winter.  I wanted to share it here so I can find it again and remember what I did!

My directions below are for a dutch oven.  For the clay pot, I did the searing and sautéing in another pan on the stove and then dumped it in the pot before I put it in the oven.  I imagine being a braised meat dish, you could easily adapt this for the instant pot.


Moroccan Beef & Sweet Potato Stew (serves 4-6)

2 Tbsp olive oil
1 ½ lbs chuck roast, trimmed and cubed 
1 tsp cardamom 
½ tsp cinnamon 
1 tsp cumin 
1 tsp ginger 
½ to 1 tsp freshly ground pepper 
1 large yellow onion, chopped
5 cloves garlic, minced
28 oz Diced tomatoes
3 cups beef broth 
2 medium sweet potatoes (peeled and cut into 1 -2 inch chunks)
15 oz canned garbanzo beans 
1 tsp salt
½ tsp pepper

Heat oil in dutch oven over medium-high heat until almost smoking. Add meat and sear or brown, tossing occasionally to get sear on all sides (about 5 minutes). While meat is browning, measure out the spices (cardamom through pepper mix) and place in small bowl.

Remove meat to platter when finished browning and add onions to the pot. Saute the onions over medium heat 3-5 minutes until translucent and then add garlic for 1 minute (don’t burn garlic). Add ground spices and stir into the onion-garlic mix. Saute spice-onion mix for 1-2 minutes

Add the meat back into the pot, along with the tomatoes and broth and bring to a boil. Turn the pot to a low simmer and cover. Simmer for 1 hour.

Add the sweet potatoes to the pot and simmer for another 1/2 hour or until sweet potatoes are fork tender.   Add the garbanzo beans and simmer for another 15 minutes.  

Thursday, July 13, 2023

Balsamic Basil Chicken

 This recipe reminds me of our family favorite Lemon Olive Chicken - very similar cooking method, quick to the table, and everyone loves it.  My mom sent me this recipe originally and I just made it for the 3rd time because I had all the ingredients on hand including a bunch of basil that I needed to use up.  Some of my kids don't enjoy tomatoes but they are big enough to pick out.

I have made this with thin chicken breasts, with thicker ones that I have pounded to an even thickness and with breast tenders - you may need to adjust the cooking time depending on the size & thickness of your chicken.

Balsamic Basil Chicken (serves 4-6)

1/3 cup balsamic vinegar

1 T honey

2 T olive oil

2 minced garlic cloves

1 tsp. Italian seasoning

1 T Dijon mustard

8 oz grape tomatoes, halved

8 oz fresh mozzarella balls (ciliegine or pearls)

2 T finely chopped fresh basil

2 lb boneless skinless chicken breasts

In a bowl, mix together the vinegar, honey, olive oil, garlic, Italian seasoning and mustard and give it a whisk.

In another bowl, mix together the tomatoes, mozzarella & basil.

Preheat oven to 400 degrees.  Heat some olive oil or cooking oil in a large oven safe skillet.  Season the chicken with salt and pepper to taste.  When the pan is hot, add the chicken in a single layer and brown for 1-2 minutes on each side.  Pour the sauce mixture into the pan - it should quickly come to a simmer.  Use a wooden spoon to scrape up any brown bits from the bottom of the pan.  Remove from the head and add the tomato, mozzarella, basil mixture over the top of the chicken.

Bake uncovered for 15-20 minutes or until chicken is fully cooked through.  The cooking time will also depend on the thickness of your chicken and how long you browned it but in general, the internal temperature of chicken should be 165F.  Remove from oven and let it sit for a few minutes before serving.

Saturday, June 17, 2023

Time to heat up the grill!

We grill pretty often throughout the year but with the amount of rain we have had so far in 2023, there haven't been as many occasions to grill.  A few weeks ago, I was thinking about some chicken satay skewers that my girls had all enjoyed at a restaurant and went looking for a recipe to make them at home.  The marinade was super easy, they grilled up quickly, and I paired it with a Thai noodle salad from Trader Joe's that I doctored up a bit.  Little told me that I should make this "all the time" so I'm putting this one in the success column . . . and I'll try not to make it so much that they all get sick of it!

On a side note, anyone notice that this chili garlic sauce is super hard to find?  I have checked the major grocery stores near me and it's out of stock everywhere.  Bummer - didn't know I should have kept a stash of it in the pantry.  I've been substituting the crunch garlic chili oil thing from Trader Joe's but it's not quite the same.


Chicken Satay Skewers (serves 4)

2 T peanut butter
2 T honey
2 T soy sauce
2 T water
1 T rice wine vinegar
1 T sesame oil
2 tsp lime or lemon juice
2 tsp chili garlic sauce
2 tsp minced garlic
2 tsp fresh ginger, minced or grated
1 lb chicken

Put all the ingredients except for the chicken into a blender or food processor and process until smooth.  Pour into a large ziplock bag.  Slice the chicken into long strips (or buy chicken tenders) and add it to the marinade.  Marinate for 1-4 hours in the refrigerator.  If you're using wooden skewers, soak them in water for about 30 minutes before you're ready to grill.  Thread the chicken on the skewers and discard the marinade.  Grill & enjoy!